Discover and read the best of Twitter Threads about #gposeguide
Most recents (19)
GPose Guide: Lighting 103 - Instances
Previously, we talked about gpose controls and how to use them in a controlled setting. But instances offer amazing places for scenario composition: so grab your backpack, we're hitting the Duty Finder!
#ffxiv #gposeguide #gposetutorial
Previously, we talked about gpose controls and how to use them in a controlled setting. But instances offer amazing places for scenario composition: so grab your backpack, we're hitting the Duty Finder!
#ffxiv #gposeguide #gposetutorial

Quick GPose tip:
You can use profile-relative positioned point lights to give volume and definition to faces and expressions. It's super quick to set up, and it cleans up jagged light projections too!
#NenekoColorS #GPOSERS #FFXIVScreenshots #ffxiv #GShade #gposeguide #gposetip
You can use profile-relative positioned point lights to give volume and definition to faces and expressions. It's super quick to set up, and it cleans up jagged light projections too!
#NenekoColorS #GPOSERS #FFXIVScreenshots #ffxiv #GShade #gposeguide #gposetip

Did you ever lose your keybindings or HUD layout configuration?
Or maybe preset changes, or wish you could revert a preset you modified a bit too much?
Good news - we can use GitHub for backup!
[Difficulty: Savage, but worth it]
#ffxiv #gpose #gposeguide
🧵/ ∞
Or maybe preset changes, or wish you could revert a preset you modified a bit too much?
Good news - we can use GitHub for backup!
[Difficulty: Savage, but worth it]
#ffxiv #gpose #gposeguide
🧵/ ∞

For this recipe, you'll need:
- 1(one) GitHub account
- 1(one) installed Github Desktop client
- 1(one) Game installation
- LOTS of patience
Ready? Let's do this!
- 1(one) GitHub account
- 1(one) installed Github Desktop client
- 1(one) Game installation
- LOTS of patience
Ready? Let's do this!
Step 1 - Dude, where's my preset?
Let's start by finding where your FFXIV installation lives.
(I'm using the standalone client on Windows 10, so your mileage may vary.)
Let's start by finding where your FFXIV installation lives.
(I'm using the standalone client on Windows 10, so your mileage may vary.)
GPose Quick Tips: Portraits
It's time to put your Warrior of Light in the spotlight, so let's borrow some IRL photograph techniques and tips and adapt them to gpose!
#ffxiv #gpose #gposeguide #gposers
It's time to put your Warrior of Light in the spotlight, so let's borrow some IRL photograph techniques and tips and adapt them to gpose!
#ffxiv #gpose #gposeguide #gposers

From Wikipedia: "Portrait photography, or portraiture, is a type of photography aimed toward capturing the personality of a person or group of people by using effective lighting, backdrops, and poses."
en.wikipedia.org/wiki/Portrait_…
en.wikipedia.org/wiki/Portrait_…
Given the nature of this theme, we'll be relying heavily on facial expressions. If you want to learn more about how to use the gpose tools for that, check out this thread:
GPose Guide: Group Posing
Have some friends visiting? Maybe a themed event? Or maybe your static got World First?
That moment deserves to be remembered, so let's learn how to give everybody an opportunity to shine - together!
#ffxiv #gpose #gposeguide #gposers
Have some friends visiting? Maybe a themed event? Or maybe your static got World First?
That moment deserves to be remembered, so let's learn how to give everybody an opportunity to shine - together!
#ffxiv #gpose #gposeguide #gposers

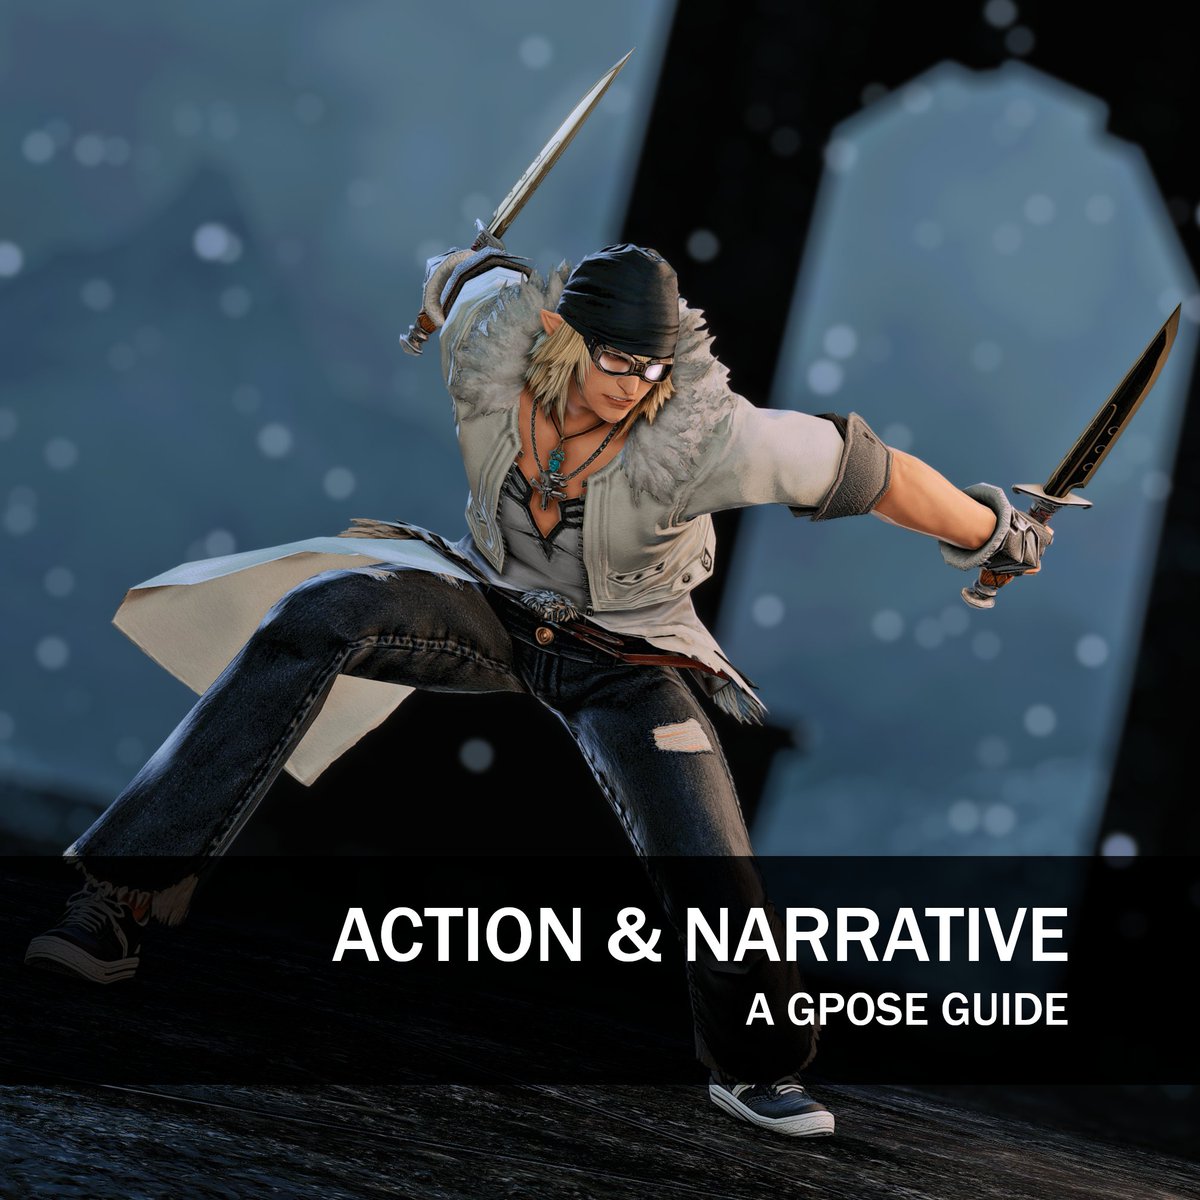
A short GPose Guide: Action & Narrative
Eorzea is a living, breathing world, and our WoLs' stories are part of it. Here are some tips - some, borrowed from real-life photography - that'll help convey their actions and stories!
#ffxiv #gpose #gposeguide
Eorzea is a living, breathing world, and our WoLs' stories are part of it. Here are some tips - some, borrowed from real-life photography - that'll help convey their actions and stories!
#ffxiv #gpose #gposeguide

1 - Narrative Shots
Susan Sontag, in her book On Photography, said: "There is the surface. Now think - or rather feel, intuit - what is beyond it, what the reality must be like if it looks this way."
A narrative shot tells a story at a glance.
en.wikipedia.org/wiki/On_Photog…
Susan Sontag, in her book On Photography, said: "There is the surface. Now think - or rather feel, intuit - what is beyond it, what the reality must be like if it looks this way."
A narrative shot tells a story at a glance.
en.wikipedia.org/wiki/On_Photog…
GShade guide: External Textures
External textures open up an amazing world of possibilities: think of different backgrounds, superimposed visual effects, or custom stickers (like logos or decoration)!
So grab a coffee and let’s how to do this!
#ffxiv #gposeguide #gposers
External textures open up an amazing world of possibilities: think of different backgrounds, superimposed visual effects, or custom stickers (like logos or decoration)!
So grab a coffee and let’s how to do this!
#ffxiv #gposeguide #gposers

But first, what’s a texture? In short, a texture is simply an image, like a .jpg or.png, that you can load and use within the 3D space for different purposes. In broader 3D terms It often means the ‘skin’ you wrap a 3D model’s wireframe surface around. 

You can learn more about the broader meaning of texture mapping with this handy video:
GPose + Post-process guide: Diorama Shots
Let's use some light post-processing to give our shots that lovely toy-like feeling of a diorama!
We'll use GIMP for post-processing, but any image editing tool with support for layers should work.
#ffxiv #gposeguide #gposers
Let's use some light post-processing to give our shots that lovely toy-like feeling of a diorama!
We'll use GIMP for post-processing, but any image editing tool with support for layers should work.
#ffxiv #gposeguide #gposers

This is an attempt to emulate the result of miniature effect/tilt shift, where a real place is made to look toy-like by clever usage of blur to simulate the loss of focus caused by the forced depth of field. The principle is explained here:
To further help with the feeling, let's use an isometric view. Quoting Gustavo Pezzi, it's "a method for visualizing 3D objects in two dimensions, but [...] we make the angles between the x-axis, y-axis, and z-axis equal 120 degrees."
pikuma.com/blog/isometric…
pikuma.com/blog/isometric…

GShade Tip: Vertical Shots with VerticalPreviewer.fx
Pixels - the most expensive commodity in the Glamour universe. A considerable amount is discarded when focusing on vertical content. So let's reclaim them with the help of a GShade technique!
#ffxiv #gposeguide #gposers
Pixels - the most expensive commodity in the Glamour universe. A considerable amount is discarded when focusing on vertical content. So let's reclaim them with the help of a GShade technique!
#ffxiv #gposeguide #gposers

Preset Showcase: Maya Purple Cocoon
We just talked about posing dark-skinned characters. So let's use the opportunity to talk about Maya's Skintones subset from the Purple Cocoon collection, created with these tones in mind!
#GPOSERS #ffxiv #GShade #GPoseGuide #GPoseTips
We just talked about posing dark-skinned characters. So let's use the opportunity to talk about Maya's Skintones subset from the Purple Cocoon collection, created with these tones in mind!
#GPOSERS #ffxiv #GShade #GPoseGuide #GPoseTips

@MayaPurrrple Maya Purple Cocoon is part of the default GShade collection: You can find it under gshade-presets. 

@MayaPurrrple The presets are implemented in two subgroups. Obsidian is focused on skin tones with some color component to it, while Shungite is geared towards pure grey skin tones. This example shows the Warm preset variants: 

GPose Guide: Dark-skinned characters
I got some questions about how to work with dark-skinned characters - and also heard some comments on how hard it is to gpose them. So here's a compilation of use cases, some techniques, and setups!
#ffxiv #gpose #gposeguide #gposers
I got some questions about how to work with dark-skinned characters - and also heard some comments on how hard it is to gpose them. So here's a compilation of use cases, some techniques, and setups!
#ffxiv #gpose #gposeguide #gposers

𝙂𝙥𝙤𝙨𝙚 𝙜𝙪𝙞𝙙𝙚: 𝘽𝙖𝙨𝙞𝙘𝙨 𝙤𝙛 𝙇𝙞𝙜𝙝𝙩𝙞𝙣𝙜
#ffxivscreenshots #gpose #gposeguide
Gpose has some amazing lighting tools to offer us. A lot of them often overlooked. Let's find out what there is and how to use it all!
A thread🧵(14 parts):
#ffxivscreenshots #gpose #gposeguide
Gpose has some amazing lighting tools to offer us. A lot of them often overlooked. Let's find out what there is and how to use it all!
A thread🧵(14 parts):

HowTo: Budget Studio ver.1.22474487139...
This is an update (and slightly messy version) of the Budget Studio. It provides a much finer lighting control while still being pretty cheap!
You'll need:
- 1x FC Room/Apt
- 3x White Screens
- 1x platform of your choice
#gposeguide

This is an update (and slightly messy version) of the Budget Studio. It provides a much finer lighting control while still being pretty cheap!
You'll need:
- 1x FC Room/Apt
- 3x White Screens
- 1x platform of your choice
#gposeguide


Gpose Tidbits: Avoid Twitter Crop
Leon often spends a long time positioning 16:9 compositions.
Leon also posts those on Twitter, forgetting that it crops to roughly 12:9 for visualization, and sighs as it mangles the shot.
Don't be a dumdum like Leon.
#ffxiv #gpose #gposeguide
Leon often spends a long time positioning 16:9 compositions.
Leon also posts those on Twitter, forgetting that it crops to roughly 12:9 for visualization, and sighs as it mangles the shot.
Don't be a dumdum like Leon.
#ffxiv #gpose #gposeguide

Luckily there's a way to avoid that if you use GShade.
By enabling CompositionFifths and CompositionThirds you can get a grid that roughly matches Twitter's display ratio.
By enabling CompositionFifths and CompositionThirds you can get a grid that roughly matches Twitter's display ratio.

Addendum: HOLD YOUR LUNAR WHALES! @adriftingtender provided an even better solution: Enable the AspectRatioComposition shader, and specify 12:9 as the aspect ratio; then, just crop the dark edges out in post-processing. 

Starter GPose hints: Lighting 102 - Outdoors
Now that we know some basic lighting techniques, it's time to wander into the wild!
There's a lot that's out of your control, like weather and natural light. Let's use those to our advantage!
#ffxiv #gpose #gposeguide #gposers

Now that we know some basic lighting techniques, it's time to wander into the wild!
There's a lot that's out of your control, like weather and natural light. Let's use those to our advantage!
#ffxiv #gpose #gposeguide #gposers


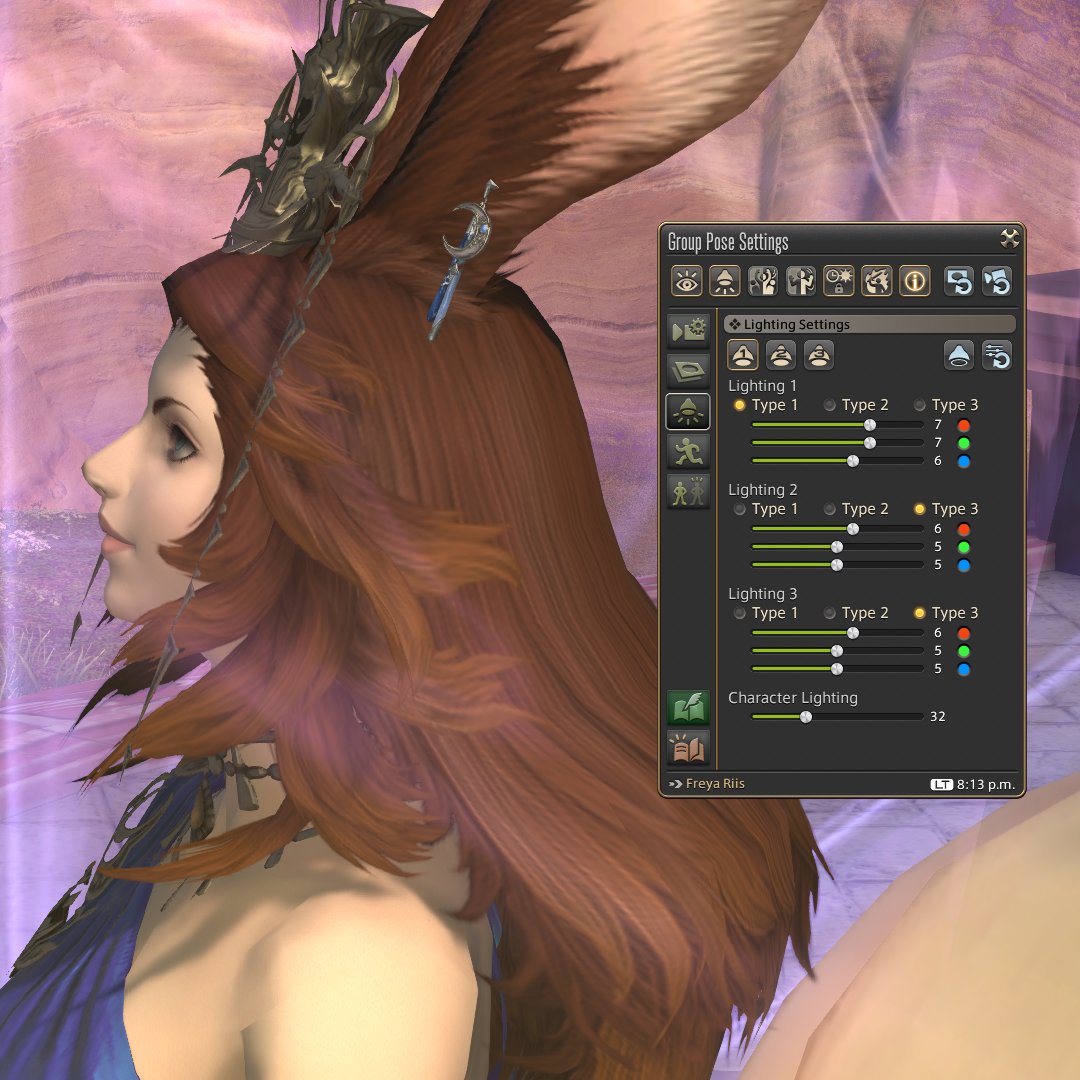
Starter GPose hints: Lighting 101 - GPose controls
It's hard to overstate how important lighting is for photography in general- and the same applies to gpose shots.
This is a huge topic, so let's start with the basics!
#ffxiv #gpose #gposeguide


It's hard to overstate how important lighting is for photography in general- and the same applies to gpose shots.
This is a huge topic, so let's start with the basics!
#ffxiv #gpose #gposeguide


Starter GPose hints: ChromaKey, transparent screenshots
Want to pose together with friends across data centers, or characters in the same account? Or maybe you just want a nice cut-out picture; transparent chromakey shots are here to save the day!
#ffxiv #gpose #gposeguide
Want to pose together with friends across data centers, or characters in the same account? Or maybe you just want a nice cut-out picture; transparent chromakey shots are here to save the day!
#ffxiv #gpose #gposeguide

Starter GPose hints: Presets and GShade pipeline
There is a part of a preset creator's work that is often ignored or underappreciated, and a GShade function that can inadvertently mess with it. So let's talk about the filter pipeline and how it works!
#ffxiv #gpose #gposeguide
There is a part of a preset creator's work that is often ignored or underappreciated, and a GShade function that can inadvertently mess with it. So let's talk about the filter pipeline and how it works!
#ffxiv #gpose #gposeguide

Starter GPose hints: Jumping/Flying shots
So I heard you like jumping keyframes! Sadly, you can't /gpose while doing somersaults.
...Or can you? (No you can't. But a friend can!)
You'll need:
- One (1) Friend / Alt account
#FFXIVScreenshots #ffxiv #gpose #gposeguide
So I heard you like jumping keyframes! Sadly, you can't /gpose while doing somersaults.
...Or can you? (No you can't. But a friend can!)
You'll need:
- One (1) Friend / Alt account
#FFXIVScreenshots #ffxiv #gpose #gposeguide

It is true that it's impossible to capture yourself while jumping in /gpose, but if a friend activates /gpose while you're mid-air you'll hang in there, ethereal and free.
There are some caveats, though: You can't apply any movement modifiers other than Lip Movements.


